In SiteLink Web Edition
Merchandise (POS items) must have been previously set up as an inventory item before you can take a payment for the item.
1. From the Operations screen in SiteLink Web Edition, click Merchandise Purchase. |
|
2. Select the item, click Add to shopping cart, and then click OK. |
|
|
3. Enter the credit card information under Payment in the top right-hand corner and then click OK to process the payment. Make sure to follow security best practices when accepting credit card payments from non-tenants to prevent chargeback issues.
|
|
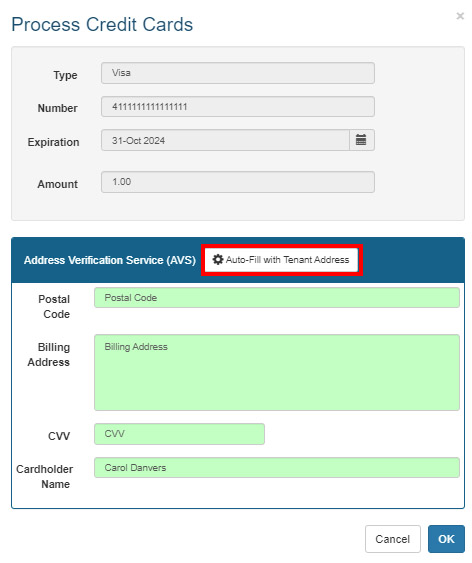
4. You will be prompted to enter the tenant's Billing Address and credit card CVV. These fields are required when processing a one-time payment entered manually in the software. If you have already entered the CVV in the CVV2 field on the previous screen, it will be auto-filled in the pop-up. |
|
If the tenant’s Billing Address is the same as the tenant's address on file, you can click Auto-fill with tenant address to fill in the postal code and billing address fields. |


In SiteLink myHub
1. From the Home Screen, click the Merchandise drop-down menu to expand it and then Merchandise Purchase. |
|
2. Select the Merchandise that the customer is purchasing, click Add to shopping cart, and then OK when you are done. |
|
3. Enter the customer’s credit card information in the Make a Payment section and click Submit to complete the payment. |
|
|
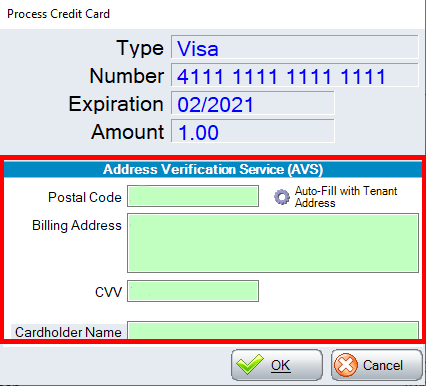
4. You will be prompted to enter the tenant's Billing Address and credit card CVV. These fields are required when processing a one-time payment entered manually in the software. If you have already entered the CVV in the CVV2 field on the previous screen, it will be auto-filled in the pop-up.
If the tenant’s Billing Address is the same as the tenant's address on file, you can click Auto-fill with tenant address to fill in the postal code and billing address fields. |